Understanding Timelapse Recording
Timelapse recording is a filmmaking technique that condenses hours, days, or even years of footage into a short, captivating sequence. Unlike traditional video recording, which captures moments in real-time, timelapse involves capturing individual frames at set intervals—often seconds, minutes, or even hours apart—and then playing them back at a higher speed. This process creates a visual narrative that showcases changes and movements over extended periods in a compressed form.
Timelapse footage is invaluable across numerous industries, including construction, environmental monitoring, event documentation, and artistic projects. For instance, construction companies use timelapse videos to document the progress of large-scale projects, offering both a promotional tool and a comprehensive overview of development phases. Urban planners and city officials leverage timelapse to analyze traffic flow, urban growth, and environmental changes. Additionally, timelapse is popular among artists and content creators for its ability to add a dynamic and engaging element to visual storytelling.
Understanding the fundamentals of timelapse recording enables creators to harness its full potential. The technique requires not just a camera capable of capturing images at specified intervals but also careful planning of the scene, camera settings, and post-processing to achieve a seamless final product. Whether used for professional project documentation or artistic expression, timelapse recording offers a unique perspective on movement and change, making it a powerful tool for visual storytelling in the digital age.
In summary, timelapse recording transforms long-term observational footage into impactful visual narratives. Its ability to reveal patterns and progress over time places it among the most compelling techniques in the modern videographer's toolkit, cultivating a deeper understanding of environments, processes, and developments across various fields.
Understanding the Technical Aspects of Timelapse Recording
Creating compelling timelapse videos requires a solid grasp of various technical elements, encompassing camera configuration, interval settings, stabilization techniques, and environmental considerations. Each feature plays a crucial role in capturing smooth, high-quality footage that effectively illustrates the passage of time and movement within a scene.
Camera Choices and Settings
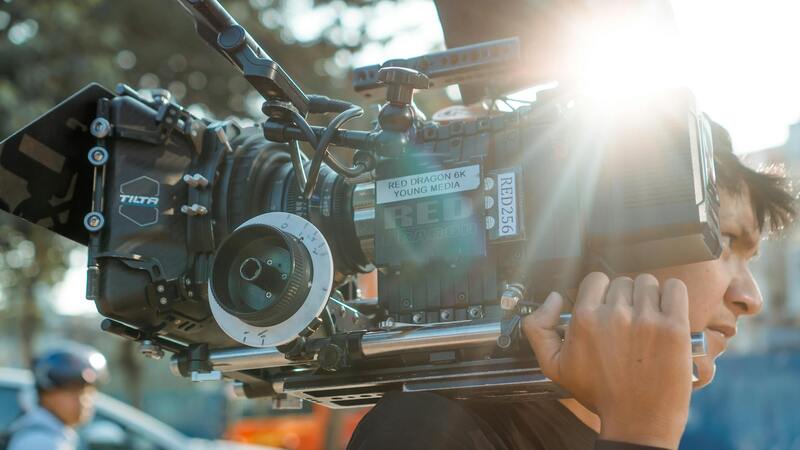
The selection of the camera is pivotal in timelapse production. DSLR and mirrorless cameras are often preferred due to their high resolution, manual control options, and interchangeable lenses. When setting up a camera for timelapse, manual focus and exposure settings ensure consistency across all frames, preventing shifts in focus or brightness that can disrupt the visual flow of the final video.
Key camera settings include:
- White Balance: Setting this to manual prevents color shifts that can occur with automatic settings.
- ISO: Keeping ISO low minimizes noise and ensures clarity, especially in scenes with adequate lighting.
- Exposure: Manual exposure permits fixed shutter speed, aperture, and ISO, maintaining uniformity across captures.
Intervalometer and Shooting Intervals
The intervalometer is an essential device or feature that automates image capture at specified intervals—often ranging from a fraction of a second to several seconds, depending on the subject and desired effect. For example, fast-moving subjects like crowds or traffic may require shorter intervals, whereas slow, gradual changes like sunset transitions benefit from longer gaps.
Choosing the right interval involves considering the speed of change within the scene and the final playback speed. Too short an interval can lead to excessive frames, increasing workload and storage needs, while too long an interval might result in choppy or disjointed footage.
Camera Stabilization
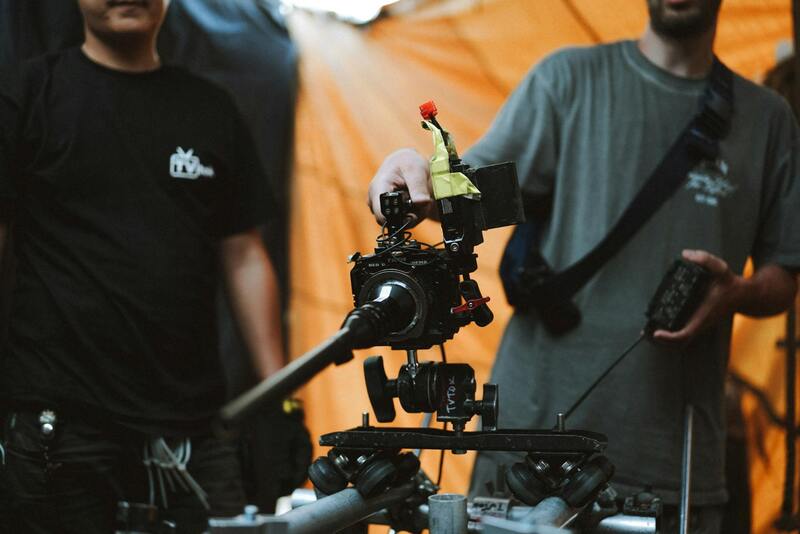
Stabilization is critical to produce smooth viewing experiences, especially when capturing long sequences or utilizing handheld equipment. Tripods, gimbals, and motorized sliders are common stabilization tools that counteract camera shake and unwanted movement. For outdoor shoots subjected to wind or vibrations, additional stabilization accessories can prevent jittering and ensure crisp, professional-quality footage.
Environmental and Lighting Conditions
Monitoring environmental factors such as lighting changes, weather, and ambient conditions guides the technical setup. Proper protection for equipment against moisture, dust, or wind is vital. Adjustments to camera settings may be necessary as lighting evolves—compensating for sunrise, sunset, or cloud cover to retain image consistency throughout the sequence.
Battery Management and Storage
Long-duration timelapse projects demand reliable power sources and ample storage capacity. Using high-capacity batteries, portable chargers, and multiple memory cards ensures uninterrupted shooting and prevents data loss during extended sessions. Periodic check-ins and backups can mitigate unforeseen technical issues that could compromise the project.
Post-Processing Workflow
After capturing images, a structured workflow for processing and editing helps optimize the final product. Image stabilization in post, color grading to match scenes, and assembling frames with dedicated software create cohesive, visually stunning videos. Proper organization of raw files during the workflow simplifies adjustments and enhances efficiency, especially for complex projects.
This comprehensive understanding of the technical foundation behind timelapse recording empowers creators to maximize the quality, consistency, and impact of their visual narratives. From selecting appropriate equipment to fine-tuning camera settings and ensuring stabilization, every detail contributes to a seamless presentation of movement and transformation over time.
Ensuring Proper Camera Stability and Focus During Timelapse Recording
Maintaining camera stability is crucial for producing smooth and professional-looking timelapse videos. Any camera shake or movement can distract viewers and diminish the visual impact of the final product. To achieve stability, using a sturdy tripod suited for long-duration shoots is essential. Tripods with adjustable legs, high weight capacity, and vibration reduction features help keep the camera steady across various terrains and weather conditions.
In addition to physical stability, focus consistency plays a vital role. Optical changes caused by drifting focus can lead to distracting shifts in image sharpness throughout the sequence. Manually focus the camera initially on the primary subject or scene elements and lock the focus setting. Many cameras offer focus lock features or manual focus options, which prevent accidental adjustments during the shoot.
Adjustments to aperture and ISO settings should also be made carefully to maintain consistent exposure. Using aperture priority mode allows controlling depth of field, while manual ISO ensures uniform image brightness across frames. Regularly reviewing captured images during the shoot can help identify any issues early, so prompt corrections can be made.
Optimizing Camera Settings for Long-Duration Recording
Choosing the correct camera settings directly influences the quality and efficiency of a timelapse project. Start by setting your camera to manual mode, allowing full control over exposure parameters. This approach prevents fluctuations in brightness that can produce jitter or flicker in the final video.
Set the resolution to the highest possible to capture detailed images, especially if you plan to crop or zoom during editing. Image format should be set to RAW or at least lossless formats if available, as they provide the greatest flexibility for post-processing. While RAW files demand more storage, they offer superior color grading and correction capabilities.
ISO should be kept as low as possible to minimize noise, which becomes more apparent over multiple frames. Adjust shutter speed and aperture to achieve balanced exposure – typically, a shutter speed double the interval time is recommended for natural motion blur, but this may vary depending on the scene.
For consistent color tone and exposure across frames, consider using a custom white balance setting calibrated to the scene’s lighting conditions. Additionally, some cameras feature intervalometer functions or can be paired with external intervalometers, enabling precise control over the shooting intervals.
Maintaining Adequate Power and Data Storage for Extended Shooting Sessions
Long-duration timelapse projects necessitate reliable power sources and ample data storage to prevent interruptions. Use high-capacity batteries compatible with your camera model to sustain prolonged shooting sessions. In situations where power outlets are accessible, an AC adapter or mains power can provide continuous energy, significantly extending shooting times.
To vastly increase storage capacity, utilize multiple high-speed SD cards or external drives. This approach allows seamless swapping during shoots without losing data or interrupting recording. Seamless backups during breaks can also safeguard raw footage from potential corruption or accidental deletion.
Implementing a systematic workflow for data management expedites post-production. Labelting and organizing cards immediately after shooting help in quickly locating specific sections or scenes. Using dedicated software or data management tools ensures that raw files are safely stored and cataloged, preventing loss of valuable footage.
Monitoring and Troubleshooting Technical Aspects During the Shoot
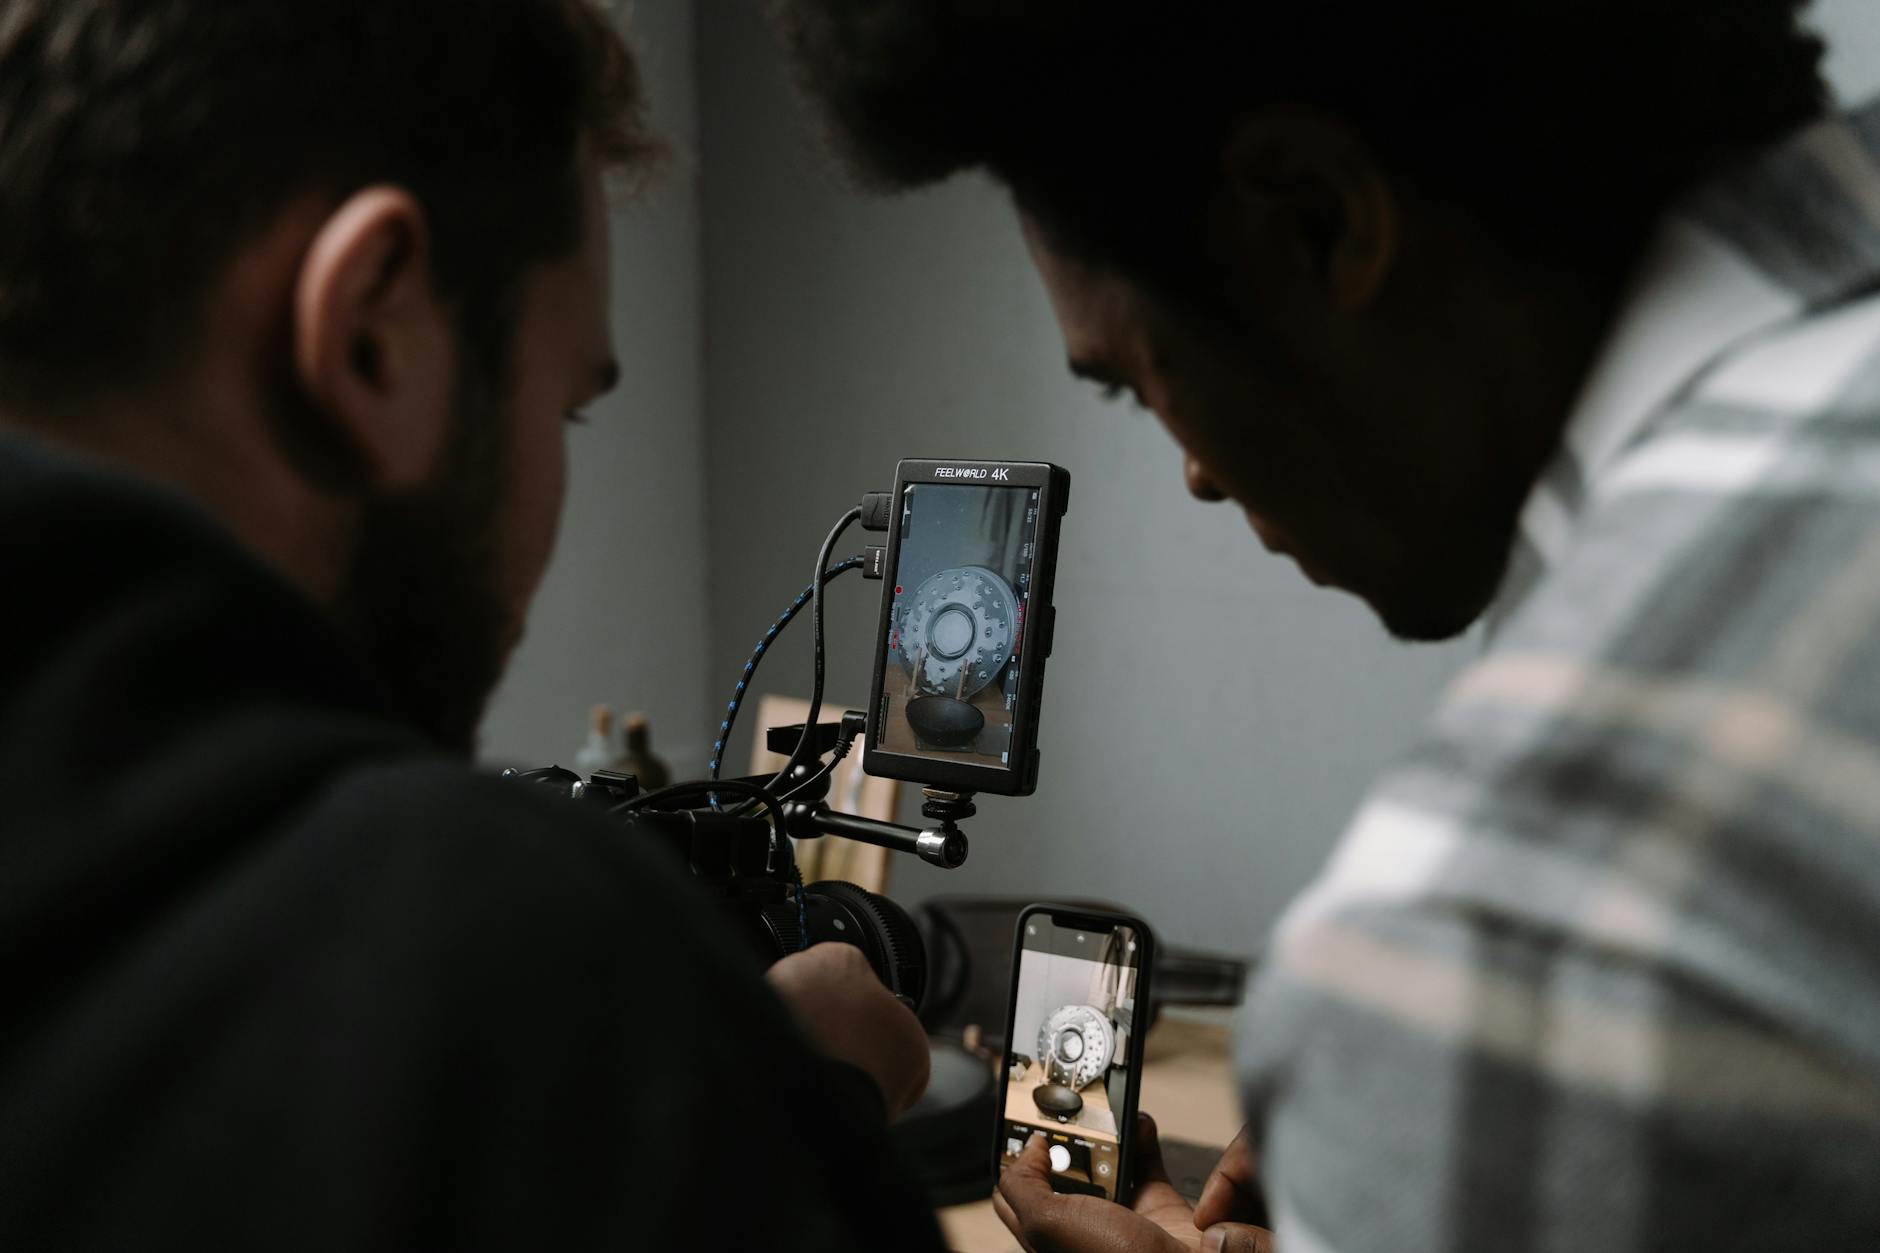
Continuous monitoring during timelapse recording is vital to identify and resolve issues promptly. Using a remote monitoring setup, such as a tablet or laptop connected via Wi-Fi or tethered cable, allows real-time review of framing, focus, and exposure settings. Such monitoring helps catch problems like drift, focus loss, or unexpected exposure changes before they affect the entire sequence.
Regularly inspecting the camera's display and data logs can alert you to technical anomalies such as battery drain, overheating, or file system errors. If the camera supports it, enabling interval timer functions with built-in error notifications can assist in automatic troubleshooting.
In adverse weather conditions or challenging locations, protective gear such as weatherproof covers or enclosures shields the camera from moisture, wind, or debris. Temperature fluctuations should be managed by choosing appropriate camera settings and ensuring proper ventilation or heating when necessary.
If technical issues arise mid-shoot, having spare batteries, extra memory cards, and backup power solutions on hand can mitigate downtime. Documenting any anomalies encountered during filming helps inform adjustments for future projects and ensures the timelapse sequence remains consistent and professional.
Optimal Camera Settings for High-Quality Timelapse Recording
Achieving professional-level timelapse footage hinges on meticulous camera configuration. Selecting the right settings ensures smooth motion portrayal while maintaining clarity and exposure consistency across the sequence. Start by adjusting the exposure settings—manual mode is preferred to keep exposure stable over extended periods. Set a fixed ISO to prevent noise fluctuations; typically, a low ISO (100-400) mitigates grain in well-lit conditions. Aperture should be selected based on the desired depth of field, balancing sharpness and focus for the scene. For scenes with varying brightness, a neutral density (ND) filter can help control light intake, preventing overexposure during bright daylight shots.
Adjusting Interval and Focus for Seamless Results
Interval timing is a fundamental setting in timelapse creation, dictating the speed at which images are captured, and thus, the overall pace of the finished video. Choosing the correct interval depends on the movement speed of the subject or scene. For instance, capturing the movement of clouds may require an interval of 2-5 seconds, while a slowly changing landscape might use 10-30 seconds. Consistency in interval timing prevents jittery footage and ensures fluid motion.
Focus settings are equally crucial. Manual focus is advisable to maintain focus consistency across all shots, especially when there is little change in scene depth. Autofocus, while convenient, can lead to unpredictable focus shifts, resulting in distracting artifacts. Pre-focusing on the main subject and locking focus before beginning the shoot enhances uniformity. In scenarios with significant lighting changes or moving subjects, adjusting focus periodically or employing focus stacking techniques can improve visual quality.
Ensuring Consistency and Quality Throughout the Shoot
Consistency in camera settings—such as white balance, exposure, and focus—is vital to produce a polished timelapse. Locking white balance prevents color shifts that can occur due to changing lighting conditions, ensuring uniform color grading. Similarly, double-check exposure levels before the shoot to avoid flickering or unintended brightness variations.
Utilizing dedicated intervalometers, either built-in or external, can improve accuracy in capturing frames at precise intervals. Regularly reviewing the shot periodically during the recording session helps detect potential issues early, such as drifting focus, exposure inconsistencies, or mechanical anomalies. Recording technical parameters and environmental conditions during the shoot aids in troubleshooting and refining techniques for future sessions.

Technical Settings and Camera Setup
Achieving stunning timelapse footage begins with meticulous camera setup and appropriate technical configurations. Selecting the right camera is fundamental; for high-quality results, advanced mirrorless or DSLR cameras with manual controls and high-resolution sensors are preferred. These devices offer better control over settings and can handle a wide range of lighting conditions, ensuring that your timelapse maintains clarity and detail throughout the process.
Stability is paramount for smooth motion in your timelapse sequences. Implementing a sturdy tripod or a specialized camera slider can prevent unwanted camera shake. When planning extended shoots, consider using a head that offers smooth panning and tilting movements, enabling dynamic shots with fluid transitions. Additionally, leveling the camera before each session ensures consistency, minimizing visual disturbances caused by slight tilts or misalignments.
Controlling the camera’s exposure settings is crucial for capturing the intended visual mood. Manual exposure mode allows you to set precise ISO, aperture, and shutter speed values, preventing fluctuations that could result in flickering. For scenes with changing light conditions, such as sunrise or sunset, use manual or fixed white balance to maintain consistent color tones. Avoid automatic white balance adjustments, as they can cause color shifts across frames.
Focus management is equally critical. Autofocus may cause focus shifts during prolonged recordings, leading to distracting focus pulls. Therefore, pre-focus on the subject or scene and lock the focus to prevent unintended adjustments. For scenarios with depth variation or movement, utilizing techniques like focus stacking or performing periodic manual refocusing can maintain sharpness throughout the timelapse.
In terms of interval settings, the gap between shots influences both the final speed of the footage and the smoothness of motion. Shorter intervals result in more fluid movement but require ample storage and power management. Longer intervals are suitable for capturing slow processes, such as cloud movements or plant growth. Employing dedicated intervalometers enhances precision in frame capture timing, reducing the chance of skipped shots and ensuring uniform playback speed.
Monitoring your camera during the shoot is vital. Regularly reviewing captured frames allows for early detection of issues like exposure inconsistency, focus drift, or mechanical malfunctions. Recording environmental parameters, such as ambient light levels and temperature, can provide insights into potential technical adjustments needed for future sessions. Adjustments made on the fly prevent compromised footage, saving time during post-production.
Capturing with a Tripod or Stabilizer
Achieving a smooth and professional-looking timelapse hinges on camera stability. Utilizing a sturdy tripod is one of the most reliable methods to prevent unwanted shake or sway during long recording sessions. When selecting a tripod, ensure it is capable of supporting your camera's weight and is adjustable for various angles and heights. For dynamic scenes or when filming on uneven surfaces, consider using a stabilizer or gimbal designed specifically for timelapse photography. These tools help maintain a consistent horizon and smooth motion, particularly when capturing panoramic or moving shots.

Utilizing Remote Controls and Intervalometers
For precise control over shot intervals and to minimize camera disturbances, remote controls and intervalometers are invaluable tools. These devices allow for hands-free operation, reducing camera shake caused by pressing buttons manually. Intervalometers can be programmed to capture images at exact time intervals, accommodating different scene dynamics. When choosing an intervalometer, consider capabilities such as exposure control, time-lapse preset modes, and compatibility with your camera's brand and model. This ensures optimized performance tailored to your specific project requirements.
Some advanced models also offer features like Wi-Fi connectivity, enabling remote monitoring and adjustments without disturbing the camera setup. This functionality is especially beneficial for lengthy shoots in remote locations, providing real-time feedback and settings management from a distance.
Battery Management and Power Supply
Long-duration timelapse recordings demand reliable power sources. Depending on the duration and complexity of your project, you'll want to plan for ample battery life or an external power supply. Using high-capacity batteries, or connecting your camera to an AC power source with an appropriate adapter, reduces the risk of interruptions. In remote areas of Miami, portable power banks fitted with DC connectors can extend shooting time significantly. Always test your power setup before critical shoots to confirm stability and compatibility, preventing unexpected shutdowns and missing shots.

Monitoring and Adjustments During Shooting
While equipment setup is crucial, ongoing monitoring during the shoot ensures the consistency and quality of your footage. Many modern cameras and intervalometers support live previews or remote monitoring via mobile apps or dedicated screens. Regularly reviewing captured frames helps identify potential issues such as exposure drift, focus shifts, or mechanical failures early enough to make adjustments. Additionally, environmental factors like changing light conditions or weather changes in Miami can influence shot quality. Monitoring allows for real-time compensation, such as manual exposure adjustments or focus tweaks, protecting the integrity of your timelapse.
Maintaining detailed logs of camera settings and environmental conditions during the shoot can also inform post-processing decisions. These insights enable correction of minor inconsistencies that might otherwise detract from the final sequence's cohesiveness.
Integrating Techniques for Optimal Results
Combining stabilization, precise interval control, reliable power sources, and vigilant monitoring creates a robust framework for successful timelapse recordings. When these elements work harmoniously, the resulting footage boasts exceptional clarity, smooth motion, and visual continuity. Whether capturing the bustling Miami skyline, sunrise over the beaches, or traffic flows on busy streets, proper technical setup ensures that each sequence elevates your storytelling and presentation to professional standards.
Technical Settings and Camera Setup
Achieving high-quality timelapse recordings hinges significantly on meticulous technical setup and precise camera configuration. Selecting the right exposure settings is fundamental; manual mode is typically preferred to maintain consistent exposure throughout the shoot, especially in changing lighting conditions common in Miami’s vibrant environment. Using aperture priority mode with careful adjustments to aperture can also help control depth of field and exposure stability.
The interval setting, which determines the frequency at which images are captured, must align with the movement speed of the subject or scene. For instance, capturing traffic flow or cloud movement requires different intervals than a sunset or city skyline. A typical starting point is an interval of 1 to 5 seconds, but adjustments are often necessary based on specific scene dynamics.
Focus calibration plays a critical role. Employ manual focus to prevent autofocus from shifting during the sequence, which can cause flickering or focus drift. It’s advisable to pre-focus on a key element within the scene and avoid changing focus settings during shooting. Additionally, setting the camera’s white balance to a fixed value ensures color consistency across the frames.
Power considerations are equally important, particularly for extended shoots. Using fully charged batteries, or connecting to external power sources where feasible, prevents interruptions. Many professional timelapse setups incorporate AC adapters or portable power banks to sustain long recording sessions without concern for battery life.
Stability is paramount to prevent jittery footage. Employing tripods, gimbals, or mounted rigs tailored for timelapse photography ensures the camera remains steady. Vibration absorption pads or fluid head tripods can further minimize camera shake, resulting in smoother motion sequences.
Implementing these technical strategies creates a foundation for capturing consistent, high-quality images that, when compiled, form the fluid motion characteristic of professional timelapse videos. It is equally crucial to monitor environmental factors such as weather, light changes, and potential obstructions during the shoot, as they can impact the final product. Proper planning and setup ultimately dictate the success of the timelapse project, transforming simple sequences into compelling visual stories.
Advanced Techniques for Optimizing Your Timelapse Recording
Achieving stunning and professional-quality timelapse videos involves employing advanced techniques that enhance the visual appeal and storytelling impact of your footage. These techniques focus on refining camera settings, controlling environmental variables, and ensuring seamless post-production processes.
Dynamic Interval Adjustment
One of the most effective strategies for creating engaging timelapse sequences is adjusting the interval between shots based on the scene's activity level. For static scenes such as cityscapes or architecture, longer intervals—often between 2 to 10 seconds—can effectively convey slow changes. Conversely, for scenes with rapid movement, like cloud movements or traffic, shorter intervals of 0.5 to 2 seconds help capture the dynamism without causing choppiness. Using intervalometers with programmable schedules allows precise control over shot timing, enabling the footage to reflect natural evolution without repetitive patterns.
Exposure and Aperture Control
Maintaining consistent exposure settings throughout the shoot is critical to avoid flickering or uneven brightness in the final video. Utilizing manual exposure controls, including aperture, shutter speed, and ISO, ensures each frame matches the previous one. In high-contrast lighting conditions, blending techniques such as bracketing and HDR (High Dynamic Range) imaging can be employed to retain detail in shadows and highlights. During post-processing, these multiple exposures can be merged to produce a balanced and vibrant timelapse sequence that accurately captures the scene's dynamic range.
Implementing Motion Control Equipment
For scenes requiring smooth camera movement, incorporating motion control rigs or sliders significantly enhances the storytelling potential of timelapse videos. These devices enable consistent, controlled camera pans, tilts, or linear movements over extended periods. By programming precise movement paths, creators can generate dramatic visual effects like revealing new perspectives or emphasizing architectural features. Combining motion control with interval shooting results in fluid motion sequences that elevate the production quality.
Utilizing Filters and Lens Accessories
Filters such as neutral density (ND) filters are indispensable for managing exposure in bright conditions and achieving desired motion blur effects. Graduated ND filters are particularly useful when capturing scenes with stark light gradients, such as sunsets or sunrises, allowing balanced exposure across the frame. Additionally, wide-angle lenses can enhance the sense of vastness and depth, making the timelapse more immersive. Equipment like lens hoods and anti-reflective coatings further improve image clarity and reduce lens flare, contributing to crisp, professional-grade footage.
Environmental and Safety Considerations
Prolonged outdoor shooting requires attention to environmental factors such as weather, lighting, and safety. Protecting equipment with weather-resistant cases and covers ensures operation during adverse conditions like rain or dust storms. For high or unstable locations, employing secure mounts and safety harnesses minimizes risk and prevents accidents. Regularly monitoring the scene for changing light conditions allows timely adjustments to the camera’s settings, which is vital for maintaining consistency and achieving optimal visual effects.