Understanding the Importance of Interior Real Estate Photography
High-quality interior real estate photography serves as a fundamental element in the marketing and selling of properties. In an increasingly visual-driven market, prospective buyers often form their first impressions based on photographs seen online. Clear, well-composed images can highlight a property's best features, create a sense of space, and evoke an emotional response that encourages further inquiry or an in-person visit.
Effective interior photography goes beyond simply capturing a room; it involves skillful composition, optimal lighting, and image enhancement to showcase the property's potential. Professional photographs can differentiate a listing from the myriad of others, increasing visibility and generating higher interest levels. This heightened appeal often translates into quicker sales and the achievement of better price points.
Furthermore, consistent and high-caliber interior images foster trust and credibility in real estate listings. They demonstrate attention to detail and convey a commitment to quality, which can influence a buyer’s perception of the property's value. In a competitive market like Miami, where real estate options abound, polished interior photography becomes a strategic tool for agents and sellers aiming to stand out.
Properly executed interior images also serve as vital assets across multiple marketing channels. From online listings and social media platforms to printed brochures and virtual tours, these images form the visual backbone that draws potential buyers into the property's story. As technology advances, increasingly interactive and high-resolution images are transforming the real estate landscape, emphasizing the need for professional approaches.
In essence, investing in professional interior real estate photography is not merely about aesthetics; it is a critical marketing strategy that influences buyer interest, drives engagement, and ultimately, accelerates sales processes. Recognizing this importance underscores the need for expertise, proper equipment, and adherence to best practices in capturing compelling interior images.
Preparing the Space for Photography
Preparation is a crucial step in photographing real estate interiors. Ensuring the space is clean, clutter-free, and well-staged creates a more inviting and professional appearance. Re-arranging furniture, adding tasteful decor, and removing personal items help prospective buyers envision themselves in the space.
In addition, the timing of the shoot is vital. During daylight hours, natural light enhances the ambiance and highlights architectural details. Opening curtains and blinds allows sunlight to illuminate the interiors, reducing the need for extensive artificial lighting.
A thorough inspection prior to shooting can identify issues such as dirty windows, stained carpets, or unorganized areas that could detract from the overall quality. Addressing these elements beforehand not only streamlines the photography process but also results in more consistent and appealing images.
Proper preparation extends to setting the scene for each room. For instance, in a kitchen, arranging countertops neatly and ensuring appliances are spotless can make a substantial difference. In bedrooms, simple touches like neatly made beds and minimal clutter contribute to a peaceful, inviting atmosphere.
Effective preparation ensures that each shot captures the space at its best, ultimately helping to attract interest and facilitate a faster sale process.
In summary,
Achieving impactful interior images begins well before the camera's shutter clicks. Proper preparation, attention to lighting, composition, and equipment all play integral roles in creating compelling visuals that resonate with potential buyers and elevate a property's market presence.
Preparing the Space for Photography
Successfully capturing the essence of a property's interior demands meticulous preparation. Every detail, from the overall cleanliness to specific staging elements, influences how potential buyers perceive the space. Initiating a comprehensive cleaning regimen is essential; this includes deep cleaning carpets, wiping down surfaces, polishing fixtures, and ensuring windows are spotless to maximize natural light entry, which enhances the overall brightness and clarity of images.
Staging is equally critical. Arrange furniture to emphasize the room's proportions and functional areas, avoiding clutter that can distract viewers. Proper placement of furniture not only demonstrates the potential uses of each space but also creates a visual flow that guides the viewer through the property. Small touches, such as fresh towels in bathrooms, strategically placed decor, and neutral color arrangements, can subtly accentuate the space's appeal without overwhelming the viewer.
In addition to cleaning and staging, attention to odors is paramount. Ensuring the property is well-ventilated and free from any lingering smells helps create a fresh atmosphere that will be evident in photographs and will resonate with viewers. Consider removing personal items and excess decorations that might distract or obscure key architectural features, aiming instead to highlight the property's best attributes.
Furthermore, plan your shot sequence carefully. Walk through each room with a critical eye, making adjustments as needed to optimize angles, remove distractions from view, and create a balanced composition. Ensuring that all doors and windows are open and functional, and that curtains are drawn or arranged to complement the space, enhances natural light flow, which is vital for achieving vivid, accurate images.
Effective space preparation ultimately influences the professionalism and attractiveness of the final images, directly impacting the property's marketability and appeal to prospective buyers.
Best Practices for Preparing a Space for Interior Photography
- Deep clean all surfaces, windows, and fixtures to ensure a pristine appearance.
- Remove personal belongings, clutter, and excess decor to maintain focus on the space.
- Stage each room to highlight its best features and functional layout.
- Ensure proper lighting by opening curtains and windows to harness natural light.
- Check that all electrical fixtures and appliances are operational and aesthetically appealing.
- Arrange furniture to maximize space perception and create inviting pathways.
- Remove or neutralize any offensive odors, enhancing overall freshness.
- Plan your shot list carefully to capture all key areas from optimal angles.
Composition and Framing Techniques
Effective composition is fundamental to creating compelling interior real estate images that attract potential buyers. When photographing interior spaces, it’s crucial to use techniques that enhance the room’s perceived size, highlight architectural features, and maintain visual harmony. Sharp, well-considered framing directs the viewer’s eye and emphasizes the room’s best attributes, making the space more inviting and desirable.
Utilize the rule of thirds by dividing the frame into a 3x3 grid, placing key elements along these lines or at their intersections. This approach fosters balanced visuals that are pleasing to the eye. Wide-angle lenses are particularly effective in interior photography, allowing you to capture more of a room in a single shot and demonstrating the full scope of the space. However, avoid distortion by adjusting your lens settings and keeping the camera level.
When choosing your vantage points, elevate your camera to a height that replicates the natural eye level or slightly higher to give viewers a better perspective of the room’s proportions. Shooting from corners of the room can help showcase the depth and layout, while avoiding obstructions and clutter within the frame enhances clarity.
Additionally, incorporate leading lines—such as hallways, furniture edges, or architectural details—to guide the viewer’s eye through the space. Symmetry and balance in your framing create a harmonious appearance, drawing attention to the room’s focal points.
Lighting Strategies for Interior Photography
Lighting significantly influences the mood, clarity, and overall appeal of interior images. With proper lighting techniques, you can reveal the true colors and textures of a space while creating a warm, welcoming atmosphere.
Natural light remains the most effective lighting source. Aim to shoot during daylight hours when sunlight can flood the room, enhancing vibrancy and depth. Open curtains fully, and if necessary, slightly diffuse sunlight using sheer curtains or gaps to prevent harsh shadows. Position your camera to face the window, capturing the soft, even light that enhances all aspects of the interior.
Supplement natural light with well-placed artificial lighting when needed. Use adjustable LED or strobe lights to fill shadows, especially in darker corners or areas with limited natural light. Avoid direct, harsh light that can produce glare or washed-out details. Instead, aim for a balanced combination of ambient, task, and accent lighting to craft a natural yet well-lit scene.
Consider the color temperature of your lighting equipment, aligning it with the natural light for seamless blending. Warm bulbs (around 3000K) create a cozy atmosphere, while cooler temperatures (around 5000K) evoke a crisp, modern look.
Apply diffusers or softboxes whenever possible to soften shadows and eliminate stark contrasts, ensuring a flattering depiction of the space. Carefully controlling light sources allows you to showcase interior elements accurately and attractively.
Composition and Framing Techniques
Maximizing the visual impact of interior real estate photography hinges on strategic composition and framing. Carefully selecting vantage points allows you to showcase the property's most appealing aspects while minimizing less desirable elements. When choosing angles, aim to capture the full expanse of each room, often by shooting near the doorway or central points that provide a broad perspective. This approach creates an immersive experience for viewers, offering a clear sense of space and layout.
Vertical lines, such as walls and door frames, should be kept straight to prevent distortion, which can be achieved through proper camera alignment and the use of a tripod. To emphasize the room's scale, incorporate leading lines—like flooring patterns, staircases, or architectural features—that draw the viewer's eye into the scene, fostering depth and dimensionality.
Framing is equally critical. Utilize natural frames within the room, such as archways or window openings, to focus attention on key features. Leave some space around the subject to avoid clutter, ensuring the shooting area does not appear cramped. Consider the rule of thirds for more dynamic images, positioning focal points like a fireplace, a striking piece of furniture, or a large window along the intersections of the grid—this enhances visual interest and guides the viewer effortlessly through the photo.
Lighting Strategies for Interior Photography
While lighting was discussed previously, its critical role in composition cannot be overstated. Properly lit interiors complement the chosen angles and framing, resulting in vibrant, inviting images. Use a combination of ambient sunlight, artificial lighting, and reflectors to evenly illuminate the space. Position your lights to minimize shadows that could obscure architectural details or create unwanted contrasts.
In spaces with large windows, balance natural light with carefully placed fill lights to prevent overexposure or blown highlights. When working in darker or enclosed areas, additional light sources, such as portable LED panels or flash units, can enhance visibility without compromising natural aesthetics. The color temperature of your lighting should match or complement natural light to maintain consistency and realism in the final image.
Experiment with different lighting configurations to discover what best accentuates the depth, texture, and color of interior surfaces. Always aim for a natural yet bright appearance that accurately represents the space, encouraging potential buyers or tenants to envision themselves living there.

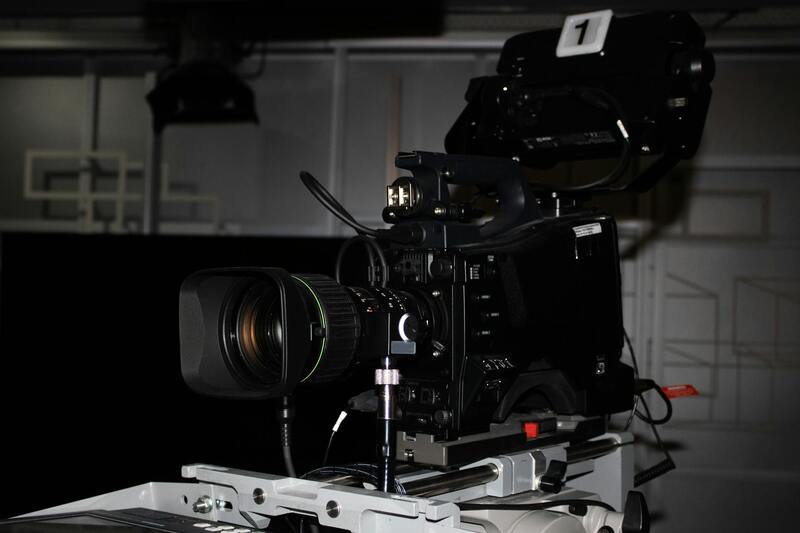
Utilizing Professional Photography Equipment and Techniques
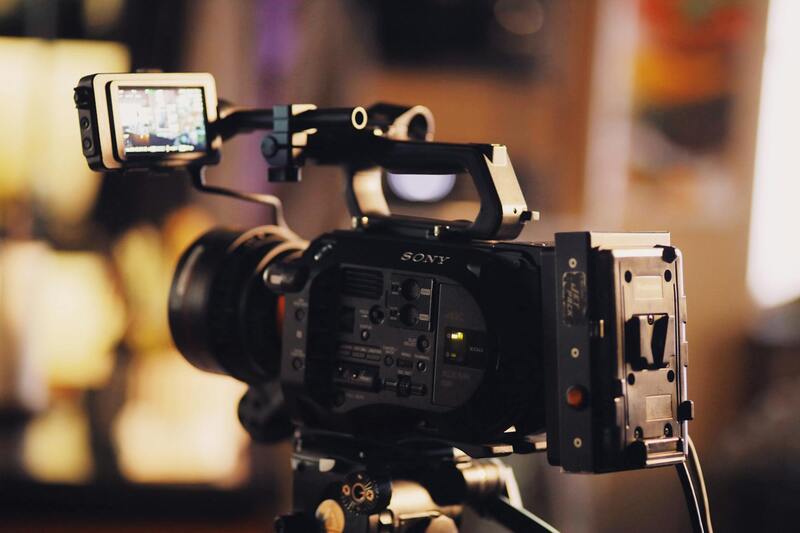
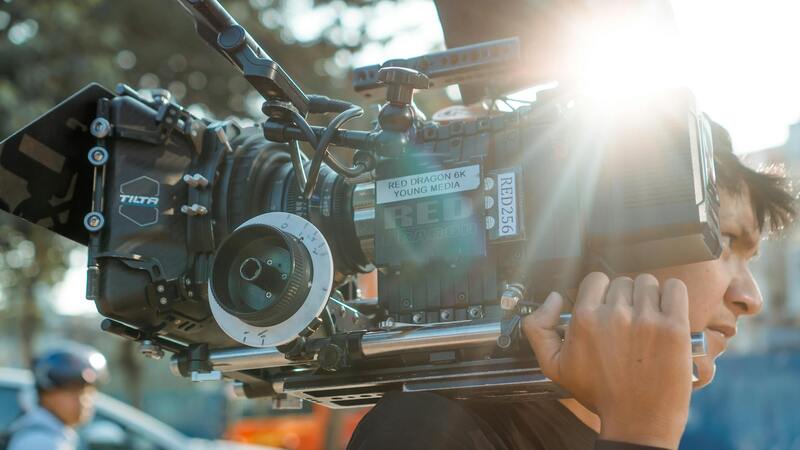
To achieve high-quality images that truly showcase the architectural and design features of interior spaces, professional photographers rely on a combination of advanced equipment and refined techniques. The choice of camera and lenses plays a pivotal role in capturing the depth, texture, and details of interiors. High-resolution digital cameras with full-frame sensors are preferred due to their superior image quality and dynamic range, allowing for detailed shots with accurate color reproduction.
Prime lenses with wide apertures, such as a 24mm or 35mm lens at f/1.4 or f/2.8, enable photographers to capture sharp images even in low-light conditions and create a pleasing depth of field. Wide-angle lenses are particularly favored for interior photography as they allow for expansive shots that include more of the space in a single frame, giving viewers a comprehensive sense of the environment.
When setting up for a shoot, adjusting camera settings meticulously ensures optimal results. A low ISO setting (around 100-400) minimizes noise while preserving image clarity. Aperture choices depend on the desired depth of field, but typically, a smaller f-number (wider aperture) is balanced with a tripod to maintain sharpness throughout the image. Shutter speed should be adjusted to correctly expose the shot, often requiring longer exposures in darker interiors, which makes use of a tripod essential for avoiding camera shake and blurring.
Bracketing exposures is another effective technique often employed in interior photography. By capturing multiple images at different exposures, photographers can blend these in post-processing to create high dynamic range (HDR) images. This approach is particularly beneficial in spaces with a high contrast between light and shadow, aligning with the goal to represent the space authentically and attractively.
Implementing Effective Composition and Framing
Proper composition is fundamental to producing compelling interior photographs. The rule of thirds remains a guiding principle: positioning key architectural features or focal points along grid lines or at intersections to create balanced and engaging images. When framing shots, consider the viewer’s eye movement—leading lines, doorways, or windows can serve as visual guides that draw attention deeper into the space.
Elevating the sense of space involves choosing angles that emphasize height, depth, and volume. Shooting from a corner of the room often provides a greater sense of openness, while direct head-on shots highlight symmetry and balance. Avoid cluttered or distracting elements in the frame; instead, aim for clean compositions that highlight the essence of the interior design.
Using Advanced Techniques for Enhanced Visual Appeal
Beyond traditional framing, advanced techniques such as tilt-shift lens usage can correct perspective distortions inherent in architectural photography. This is particularly useful for photographing tall interior features like staircases or ceilings with high ceilings, ensuring lines remain straight and true to the structure.
Incorporating strategic lighting in combination with natural daylight can further accentuate the best features of an interior. Reflectors and diffusers are invaluable tools—they help bounce light into shadowed areas or soften harsh light, creating an even, inviting atmosphere in the shot.
Ultimately, mastering these methods significantly elevates the quality of real estate interior images, making them more impactful and appealing to prospective clients. The careful application of professional equipment and precise compositional choices ensures that each photograph accurately and attractively represents the space, conveying its best features effectively to viewers.
Understanding the Importance of Interior Real Estate Photography
Capturing the essence of a property's interior through high-quality photography plays a pivotal role in the marketing process. Effective photographs not only attract potential buyers but also convey the personality and unique features of the space. This visual presentation influences decision-making, allowing viewers to envision living or working within the environment. When done professionally, interior real estate photography emphasizes the property’s best attributes, highlights spatial dimensions, and creates an inviting atmosphere. Such images serve as a powerful tool, bridging the gap between online listings and physical property visits, ultimately increasing engagement and reducing time on the market.
Preparing the Space for Photography
Preparation is crucial to ensure the space appears its best in photographs. Start by decluttering each room, removing personal items, and organizing furniture to maximize openness. Cleanliness is vital; dust and smudges can detract from a polished appearance. Additionally, consider staging the space to enhance its appeal, highlighting architectural features and functional layouts. Open curtains and blinds to let natural light flood the interiors, which helps in achieving vibrant and accurate color portrayals. Ventilate the space to ensure a fresh, inviting atmosphere and eliminate any odors that might be present. Finally, double-check windows, light fixtures, and surfaces for any imperfections that could be distracting in images.
Essential Equipment and Camera Settings
Achieving professional-grade interior photos requires specific equipment and camera settings. A wide-angle lens (typically between 14mm and 24mm) is essential for capturing more of each room, providing an immersive perspective. A tripod stabilizes the camera, allowing for longer exposure times to brighten dark areas without sacrificing sharpness. Use a camera with manual settings to control aperture, shutter speed, and ISO, optimizing exposure for interior lighting conditions. Typically, an aperture of around f/8 to f/11 ensures sufficient depth of field, keeping entire rooms in focus. Set the ISO as low as possible to reduce noise, and adjust shutter speed based on the available light, utilizing natural daylight whenever possible for the most authentic color rendition.
Composition and Framing Techniques
Effective composition guides the viewer's eye through the space and highlights its best features. Utilizing the rule of thirds can create balanced and engaging images. When framing shots, consider shooting from a corner to emphasize depth and spatial relationships, offering a sense of scale and openness. Keep lines straight by aligning the camera with architectural features, avoiding perspective distortions that can make a room appear skewed. Incorporate leading lines, such as hallway or furniture edges, to draw attention toward focal points like a fireplace or a window. Be mindful of clutter and distractions; aim for clean, unobstructed frames that showcase the interior’s design and layout. Symmetry, where applicable, enhances visual harmony and can be especially impactful in rooms with balanced features.
Lighting Strategies for Interior Photography
Lighting is the cornerstone of compelling interior images. Natural light should be leveraged as much as possible; shooting during daylight hours when sunlight is abundant produces vibrant and true-to-life colors. Positioning the camera to maximize natural light incidence minimizes shadows and enhances room brightness. For areas with limited natural light, use additional light sources strategically. Softboxes, reflectors, and diffusers help bounce and soften light, reducing harsh shadows and creating evenly lit scenes. Balancing interior lights with natural daylight prevents overexposure and maintains consistent color temperature across photos. Consider the time of day; early morning or late afternoon light can add warmth, while midday light is more neutral. Consistent lighting throughout a series of images helps establish a cohesive visual narrative, allowing prospective buyers to feel more connected to the space.
Understanding the Importance of Interior Real Estate Photography
High-quality photography of interior spaces plays a pivotal role in attracting potential buyers or renters. Professionally captured images accurately represent the property's layout, size, and features, providing viewers with a genuine feel of the space. Well-executed interior photos can significantly shorten the selling cycle by creating a compelling visual narrative that highlights the property's unique characteristics. Since many prospective clients begin their property search online, having striking images enhances the listing’s visibility and appeals directly to the target audience. Superior interior photography also demonstrates a meticulous approach to presentation, indicating the property has been well-maintained and thoughtfully presented, which can influence buying decisions positively.
Preparing the Space for Photography
Preparation is essential to ensure that each photograph captures the property's best attributes. Start by decluttering and organizing the space, removing personal items, and ensuring surfaces are clean. Good staging, which includes arranging furniture to accentuate the room's functionality and flow, enhances visual appeal. Open curtains and blinds to let in natural light, and turn on all existing lights to create a bright environment. A fresh coat of neutral paint or minor repairs can make subtle but impactful differences. Additionally, consider temporarily removing or repositioning large or obtrusive items that might interfere with the shot. Overall, the goal is to present a clean, inviting, and realistic view of the interior that appeals to a broad audience.
Essential Equipment and Camera Settings
Capturing high-quality interior images requires appropriate equipment and settings. A wide-angle lens (typically 14-24mm for full-frame cameras) allows for capturing more of the room in a single shot, reducing distortion and conveying spatial relationships effectively. A tripod is vital for stability, especially in low-light conditions, ensuring sharp images without motion blur. When setting up your camera, use a low ISO setting (100-400) to minimize noise, and aperture values around f/8 to f/11 to achieve sufficient depth of field, keeping both foreground and background in focus. Shooting in RAW format provides better flexibility during post-processing, allowing for adjustments in exposure, color balance, and contrast without degrading image quality. Proper white balance settings are essential for accurate color reproduction, particularly when mixed lighting sources are present.
Composition and Framing Techniques
Strong composition guides viewers’ attention and emphasizes key elements within a space. Utilize the rule of thirds by placing focal points along intersecting lines to create balanced images. Keep vertical lines horizontally aligned to prevent perspective distortion—the appearance of rooms leaning or skewing. Incorporate leading lines, such as hallways, furniture edges, or architectural details, to draw the eye toward the main features of the room. Symmetry and balance in framing evoke harmony and stability, especially in rooms with balanced features like windows and doorways. When photographing multiple rooms, maintain consistency in angles and perspectives to create a cohesive narrative across the series of images. Lastly, experiment with different viewpoints to find the most flattering perspective for each space, emphasizing depth and proportion.
Lighting Strategies for Interior Photography
Lighting is fundamental to producing compelling interior images. Maximize natural light by shooting during daylight hours; overcast days provide diffuse light that reduces harsh shadows. Open curtains and blinds to flood the space with soft, even illumination—all windows should be kept unobstructed. When natural light is insufficient, supplement with artificial lighting—softboxes, LED panels, or flashes with diffusers help produce even, flattering light that mimics daylight. Position auxiliary lights to fill shadows in darker areas, especially corners or spaces away from windows, avoiding uneven brightness that distracts from the overall composition. Use reflectors to bounce light into shadowed zones, softening contrast and creating a balanced scene. Adjust camera settings accordingly to prevent overexposure from bright windows while maintaining detail in darker parts of the room. Time of day impacts mood: morning light offers a warm, inviting glow, while midday light is more neutral and neutral for consistent color accuracy.
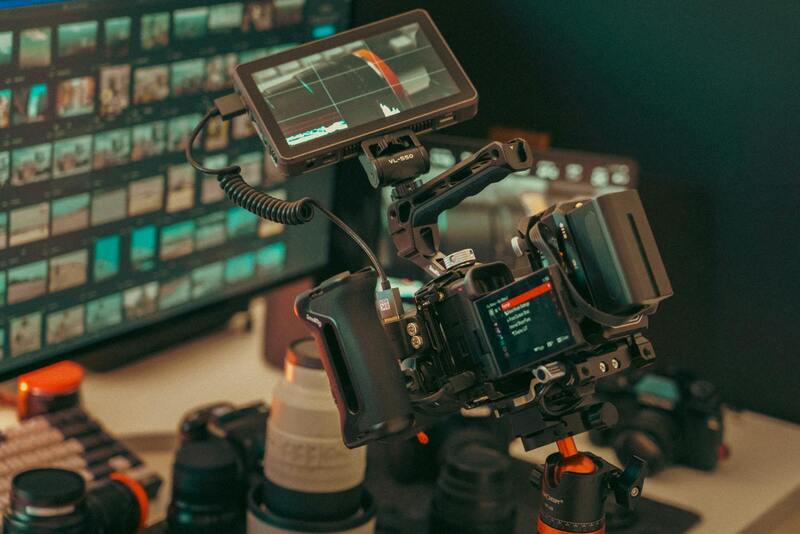
Post-Processing and Image Enhancement
Post-processing is a critical step to refine images and ensure they accurately represent the space. Basic adjustments include correcting exposure, enhancing contrast, and fine-tuning white balance to reflect the true colors of the interior. Straightening vertical lines and perspective correction help maintain architectural integrity. Clarity and sharpness adjustments highlight textures and details, making furniture, fixtures, and surfaces more distinct. Remove minor distractions, such as stray cords, reflections, or clutter, which can detract from the overall image quality. Be cautious not to over-edit; maintain a natural look that accurately portrays the space. Subtle enhancements, like increasing vibrancy or adjusting shadows, can make images more inviting without compromising realism. Consistent editing style across a series of photos creates a uniform visual presentation that enhances the property’s appeal online.
Legal and Ethical Considerations
When undertaking interior real estate photography, adherence to set standards and practices ensures a professional presentation of properties. Respect for confidentiality and a commitment to authenticity are fundamental. Photographers should strictly avoid manipulating real estate images in ways that could mislead prospective buyers or tenants. This involves refraining from excessive editing that invents or exaggerates space, features, or textures, as well as accurately representing the property’s size and condition.
Furthermore, obtaining proper permissions before photographing interior spaces is essential. This means securing approval from property owners or managers and respecting any restrictions on photography within certain areas, such as private offices, storage rooms, or other sensitive zones. It’s vital to communicate clearly about the intended use of images, especially if they are to be used commercially, to ensure transparency and maintain a trustworthy relationship with all parties involved.
Adherence to professional standards also involves using equipment and editing techniques that uphold image integrity. This includes avoiding the use of distortive lenses that can artificially enlarge or shrink a space, and ensuring perspective corrections do not result in unnatural appearances. The goal is to produce images that are both visually appealing and a truthful depiction of the interior, facilitating accurate perception and informed decision-making for potential buyers or renters.